CSIR Guest Wireless Info


WARNING: This information is outdated and is only left as legacy info.
Install CA Certificate
Regardless of the hardware used for connecting to the CSIR Wireless SSID, you need to add the CSIR Wireless CA to the certificate store of the machine you connect with.
This is a once-off action.
- Navigate to the following URL and download the CSIR_WirelessCA.der file:
http://captiveportal2.csir.co.za/crm/images/captiveportal/radiuscert/CSIR_WirelessCA.der
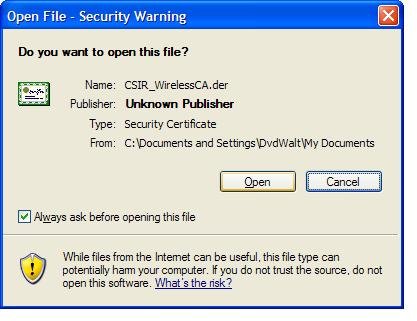
- Open the folder containing the downloaded file.
- Right click on the file and select Install Certificate from the context menu.

- This will start a wizard which will guide you through the install of the certificate.
- Select the Next button to continue.

- Select Place all certificates in the following store (not the default)
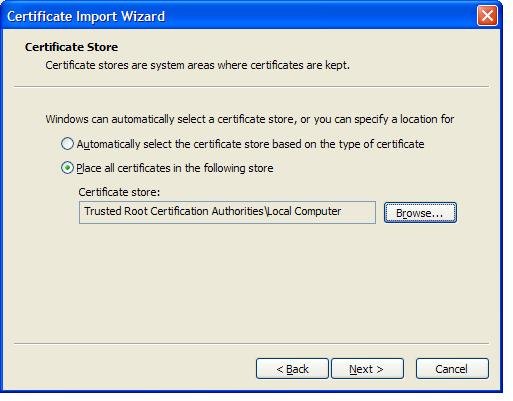
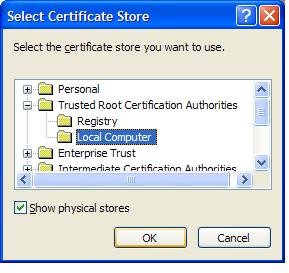
- Click on the Browse button to select the Trusted Certification Authorities → Local Computer tree. (You have to check Show physical stores)
- Click the Next button.
- Click the Finish button to complete.
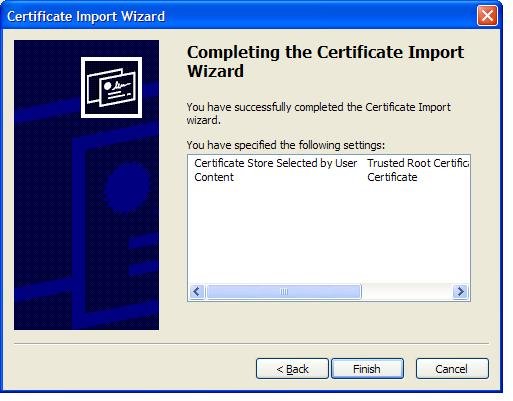
- This will enable you to connect only to trusted CSIR access points.
Dell with Intel
The majority of CSIR Dell notebooks use Intel WiFi network cards for wireless connectivity.
The Microsoft Windows XP image issued by the CSIR includes a Intel supplicant.
A supplicant is a utility program that is used to connect to the wireless network.
| Note on supplicant |
|---|
| Please ensure that you have the latest supplicant installed by navigating to this URL http://support.csir.co.za Select Drivers → Dell Drivers This will open a web page with a list of standard CSIR models and available drivers for each. |
- The Intel supplicant should start up with Windows and locate itself in the system tray. If not, you can manually start it by selecting: Start → All Programs → Intel PROSet Wireless.
- To start the supplicant from the system tray, click on the icon that looks like a flash light. This will bring up a menu where you can select Configure WiFi.Always ensure that the WiFi is turned on when attempting to connect. Some of the notebook models have a physical switch on the side which can be switched off.

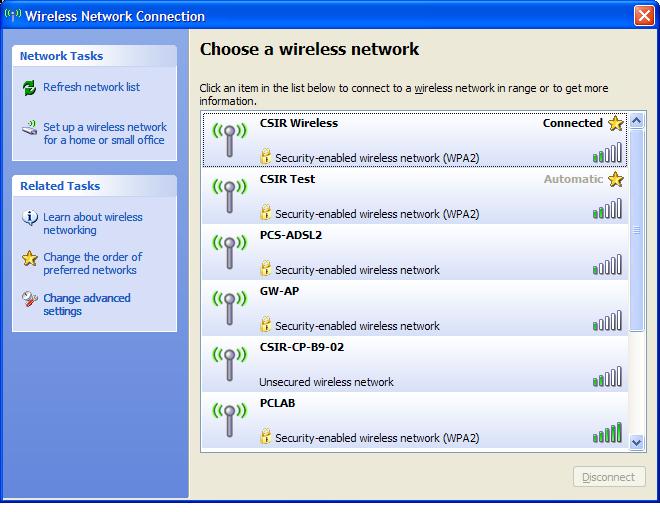
- After the supplicant launched, a list of available WiFi access points will be listed. Select CSIR Wireless, and click connect.
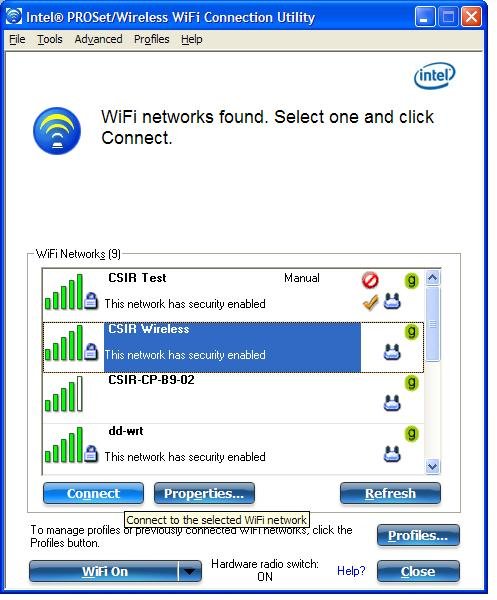
- If this is the first time you connect, a connection wizard will launch asking you to supply detail for the profile CSIR Wireless.
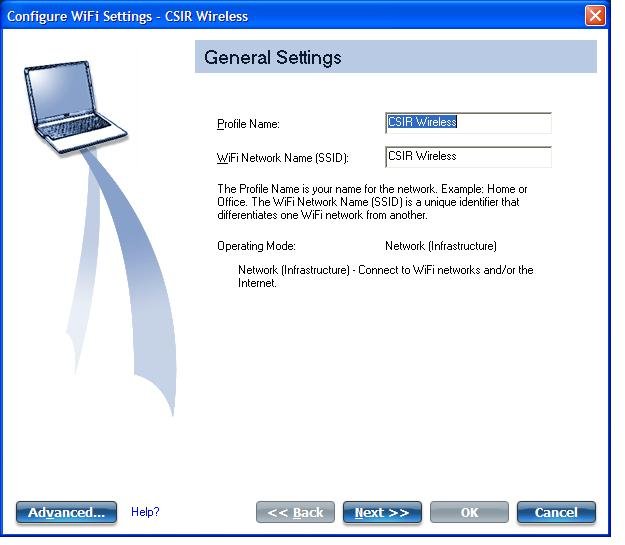
- Click Next. The supplicant will now contact the WiFi access point and try to determine the security protocols it is configured with.

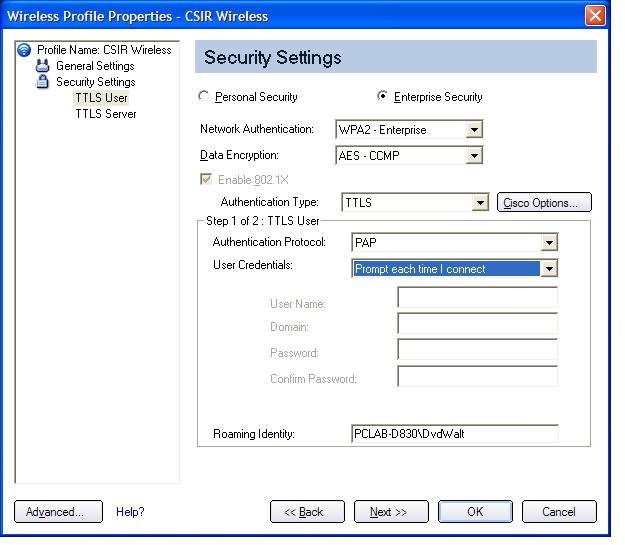
- Click on the More button to open the detailed view. Adjust the following settings accordingly:
| Setting | Value |
|---|---|
| Enterprise Security | Checked |
| Network Authentication | AES – CCMP |
| Authentication Type | TTLS |
| Authentication Protocol | PAP |
| User Credentials | Prompt each time I connect |
| Roaming Identity | Default or your CSIR email address |
- Click on the Next button. Ensure that Validate Server Certificate is selected. Select Certificate Issuer → CSIR Wireless CA. This is very important to ensure you are connecting to CSIR validated WiFi access points.
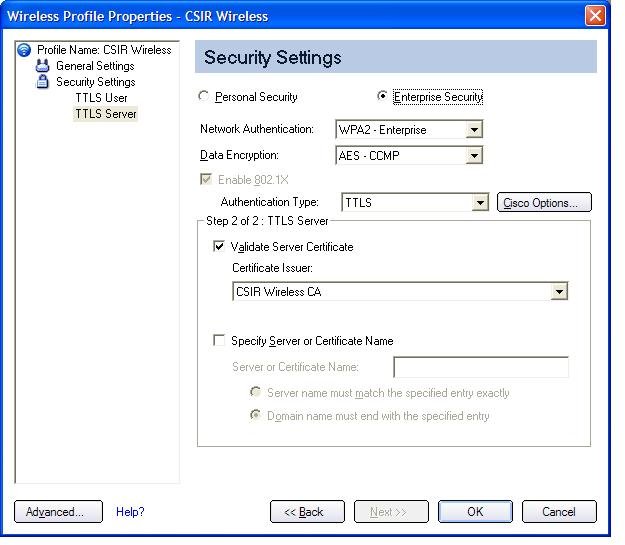
- Click OK to complete the profile creation. This will close the profile creation wizard.
- You can now select the CSIR Wireless SSID and click Connect to connect to the wireless network.
- You will be prompted to supply your user name and password. Note that Domain should remain empty.

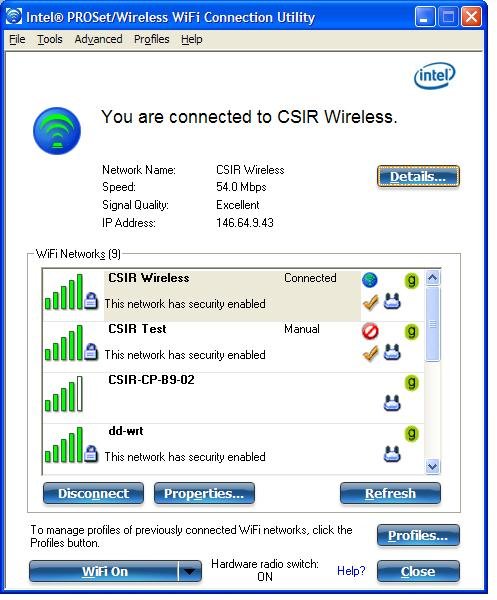
- If the connection was successful you should get a window similar to the above, indicating which speed you are connected with as well as the IP Address assigned to your machine.
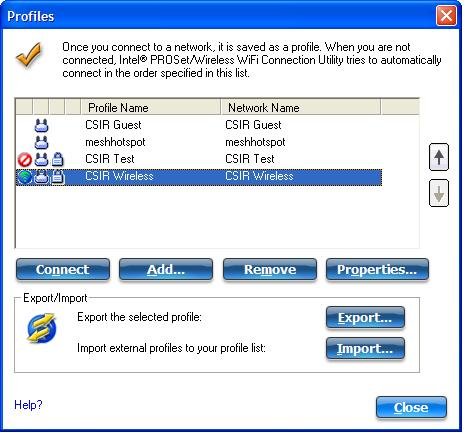
- Should you want to change anything, you can click on Profiles to open a view of the existing profiles. Select which one you want to edit, and click on Properties to edit the profile.
Non-standard hardware using Secure-W2
To connect with machines that does not have an Intel WiFi? card, eg a USB wireless adapter use the following as a guideline.
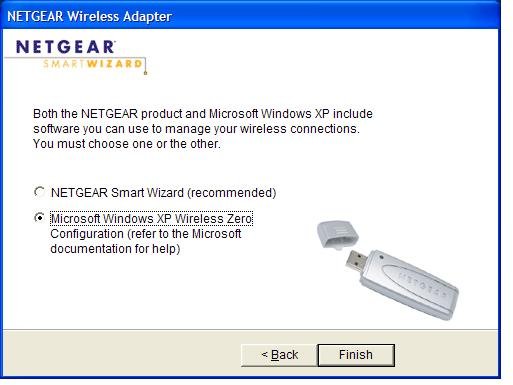
Use the Microsoft Windows supplicant to connect.
Some wireless network cards install their own software that you can use to connect to a wireless network.
Most offers some way to use the Microsoft Windows supplicant instead of the network card vendor's own.
Determine if the WPA2 patch is installed
In order for your machine to encrypt the wireless connection, you need to have WPA2 encryption capability on the wireless card.
- Right click on My Network Places, select Properties.This will open a list of network cards.
- Right click on the wireless card, select Properties.This will open the properties window of the network card.
- The window should have three tabs, General, Wireless Networks and Advanced.
If there is no Wireless Networks tab, it may be that the vendor's own supplicant still manages the card and needs to be turned off.
Select the Wireless Networks tab.

- Click on the Add button to add a profile.
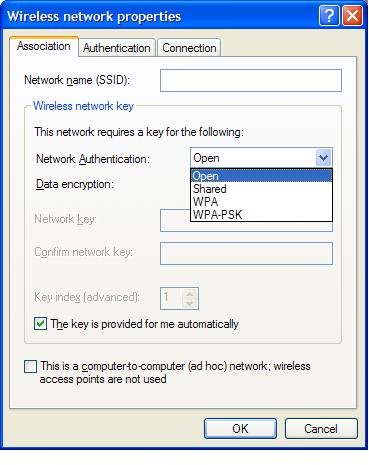
This will open a new window. Under the Association tab, check the available options under Network Authentication.
Ensure WPA2 is available.
If it is not available (as shown in the screen shot below) you need to patch Microsoft Windows XP to include support for it.
- To install the patch, navigate to the following URL from the machine with the wireless card using Internet Explorer.
http://www.microsoft.com/downloads/details.aspx?displaylang=en&FamilyID=2726f32f-d52b-4f84-ace8-f7fc20195769
Follow the instructions on the web page to patch the system.
After the system is patched, ensure that WPA2 is now available as an option for Network Authentication.
Install SecureW2
- The SecureW2 supplicant was initially an Open Source program, but later versions has a license fee to it.
The download link on this page is to the older Open Source version.
http://captiveportal2.csir.co.za/crm/images/captiveportal/files/securew2.exe - Click on the securew2.exe file to start the install process.
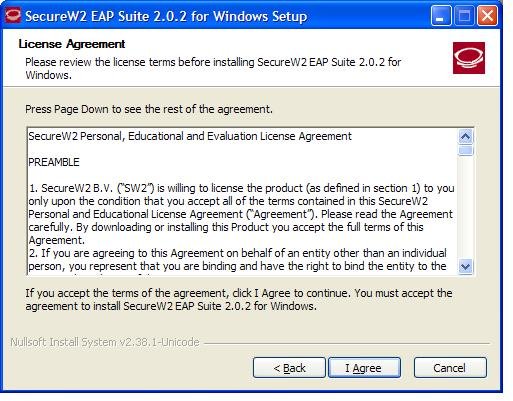
- You have to agree to a license before installing:
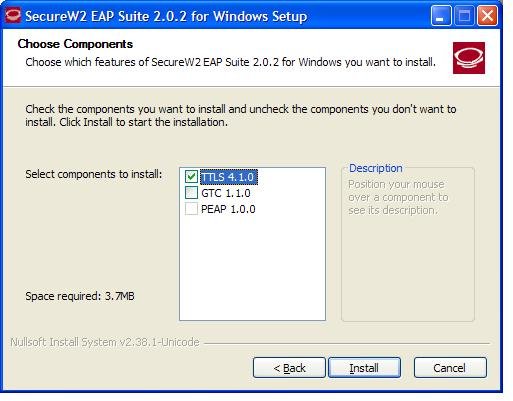
- You only need to install the TTLS component.
- You are required to restart the machine after install of SecureW2.

Connect to CSIR Wireless
All the requirements should now be met to connect to the CSIR Wireless network.
- Right click on My Network Places, select Properties. This will open a list of network cards.
- Right click on the wireless card, select Properties.
This will open the properties window of the network card.
The window should have three tabs, General, Wireless Networks and Advanced. - If there is no Wireless Networks tab, it may be that the vendor's own supplicant still manages the card and needs to be turned off.
- Select the Wireless Networks tab.
- Click on the Add button to add a profile. This will open the Wireless network properties window.
- On the Association tab, ensure the following are specified:
| Setting | Value |
|---|---|
| Network name (SSID) | CSIR Wireless |
| Network Authentication | WPA2 |
| Data encryption | AES |

- On the Authentication tab, ensure EAP type is specified as SecureW2 EAP-TTLS.
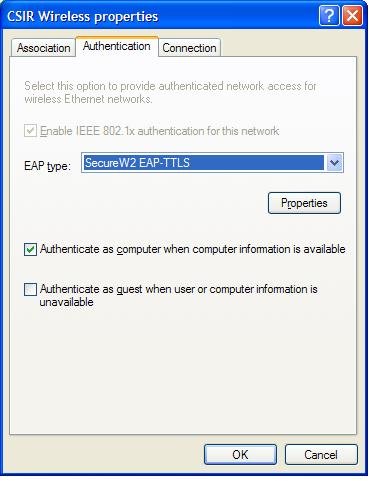
- Click on the Properties button to open the SecureW2 profile creation program.
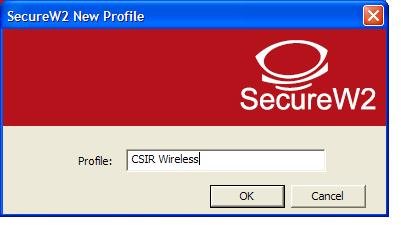
- Click on the Add button to create the CSIR Wireless profile.
- Select the newly creates CSIR Wireless profile to configure.
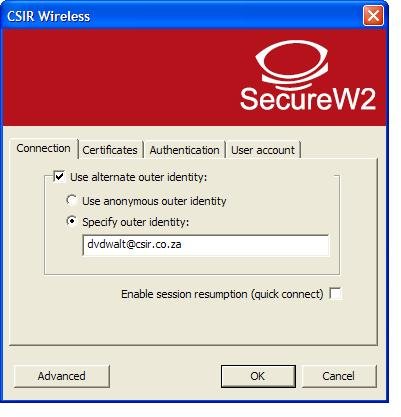
- On the Connection tab, specify Use alternate outer identity and select Specify outer identity.
Enter your CSIR email address as the outer identity.
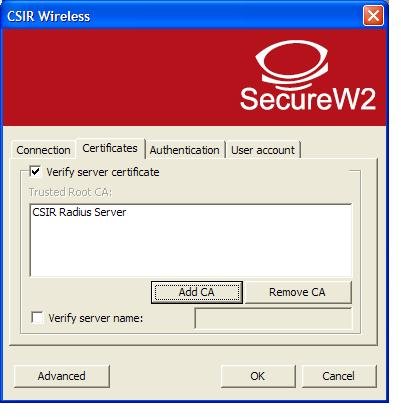
- On the Certificates tab, select Verify server certificate and click Add CA to select CSIR Wireless CA from the list.
If this certificate is not available you need to re-check the section Add the CSIR wireless CA at the start of this page.
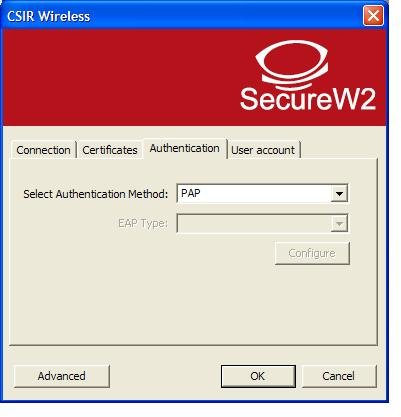
- On the Authentication tab, ensure Select Authentication Method is set to PAP.
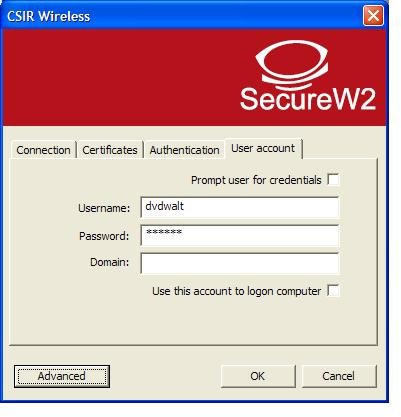
- On the User Account tab you can either supply your LAN username and password, or select to be prompted each time you need to connect to the CSIR Wireless network.
| WARNING |
|---|
| One disadvantage of storing the credentials locally is that you have to change it upon each password change to keep it in synch with the new password. |
- Click OK to close the profile creation dialogue.
- You can now click on the View Wireless Networks button in the Wireless Connection Properties window to see which networks are available. Select CSIR Wireless and connect.