
CSIR Guest Wireless Info


Connect to CSIR Wireless
CSIR Wireless on Android.
- Select on Apps link at the top right of the device screen. This will list various applications available on the device
- Select the Settings application.
- Select Wireless and networks.
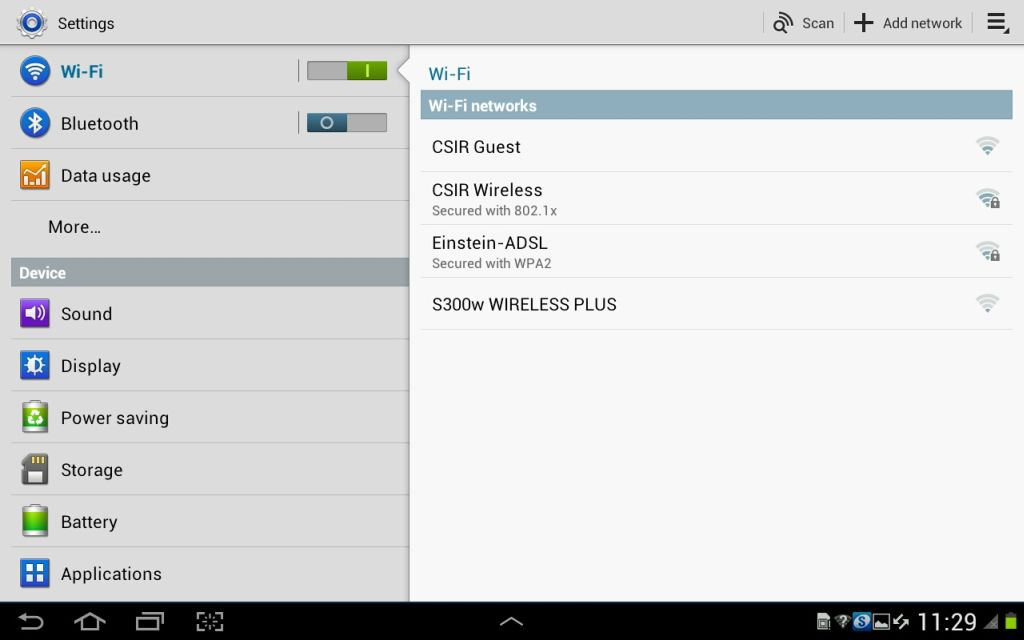
- Enable Wi-Fi if disabled.
- Select the CSIR Guest SSID. (No proxy settings and DHCP).

- Ensure it connects to CSIR Guest.
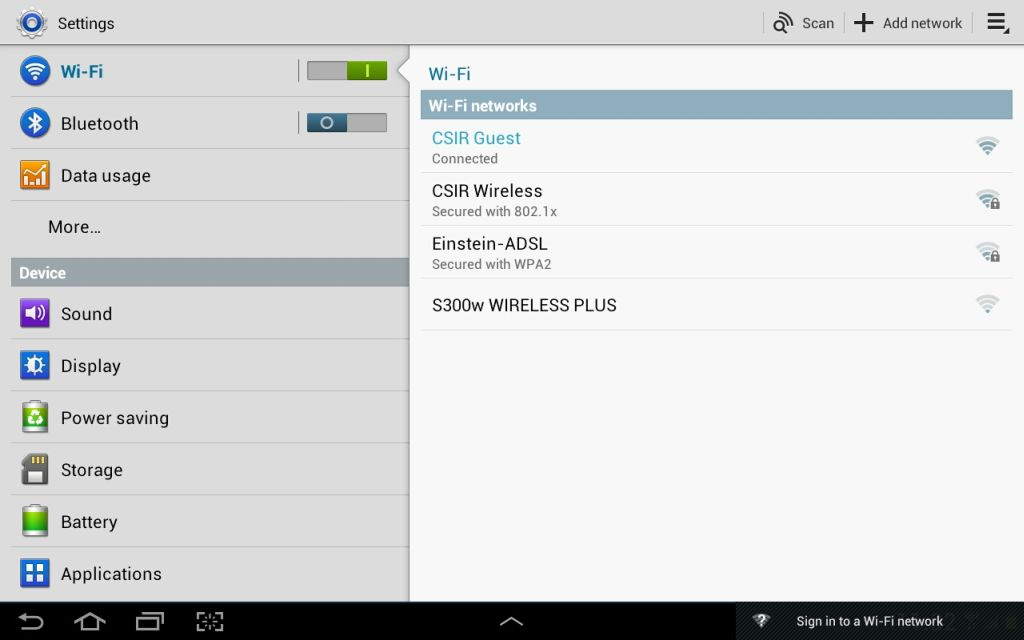
- Open the browser and navigate to any website. You will be redirected to a captive portal's login page.

- Select the CSIR Wireless link at the top of the login page.
- Import the CA. On the Android you have to select the CSIR Certificate in PEM format.
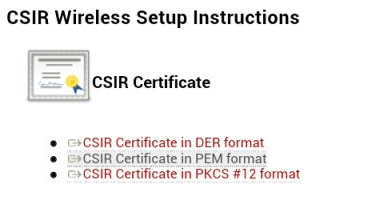
- You will be asked to give the CSIR Certificate a name. Name it CSIR Wireless.

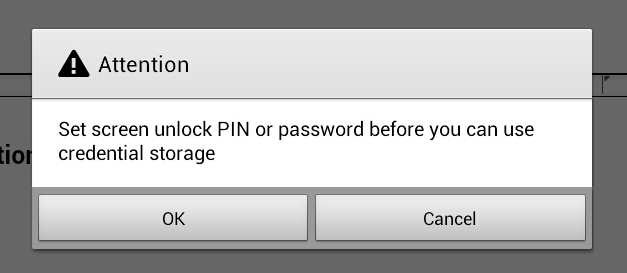
- If this is the first time you configure the device, you may be asked to supply a unique pin, password or pattern for the password store.

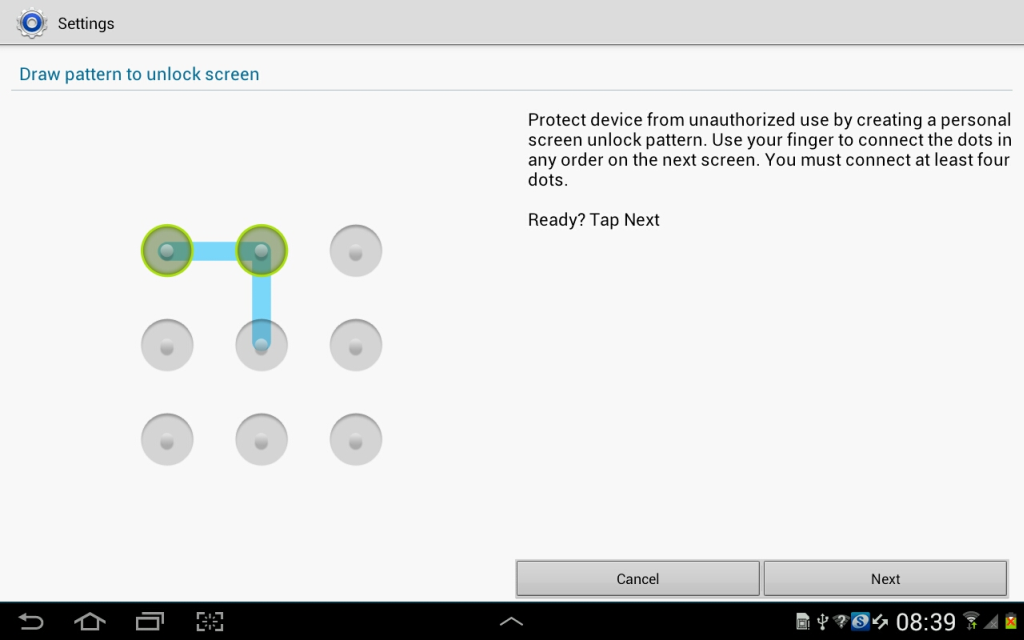
- The pattern lock is the least intrusive as you will have to logon to you device whenever it wakes up.
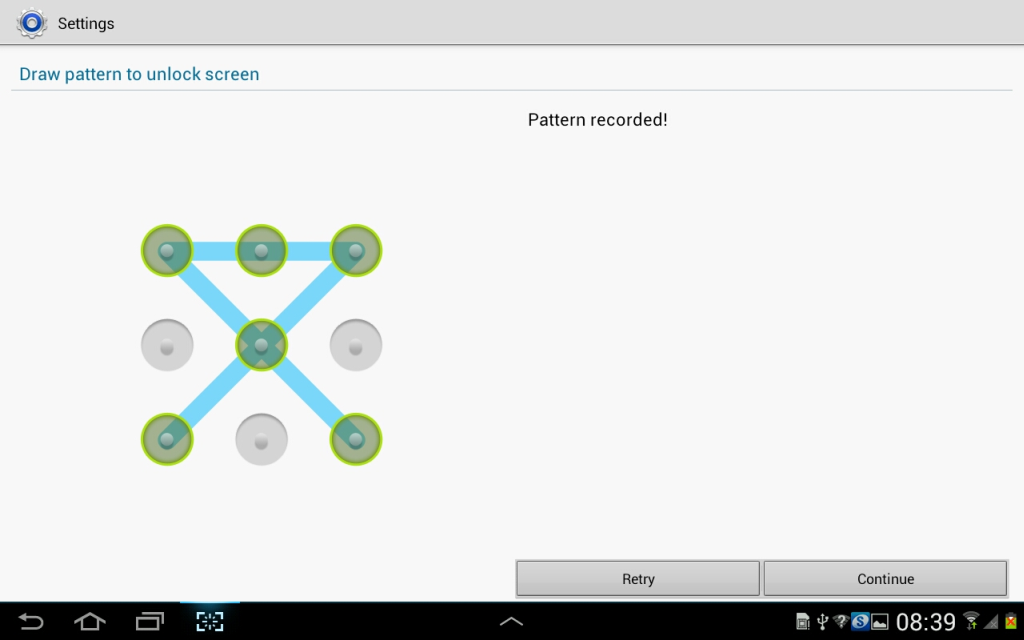
- Set Pattern and confirm it:
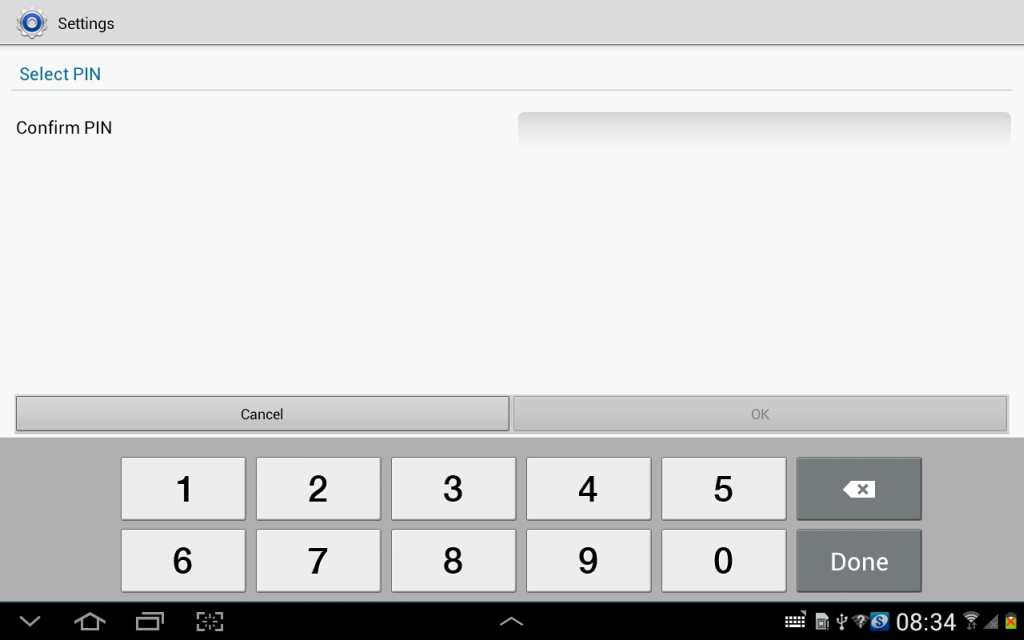
- Set backup PIN for credential store and confirm it.

- Set Pin and confirm it:
- Set Password and confirm it:

- This now enables you to configure the device to connect to CSIR Wireless SSID.
- Select CSIR Wireless SSID. This will pop up a settings dialog. Make sure you specify the following:
| Configuration Item | Value |
| EAP Method | TTLS |
| Phase two authentication | PAP |
| CA Certificate | CSIR Wireless |
| User Certificate | (Unspecified) |
| Identity | Novell Username (e.g. dvdwalt) |
| Anonymous identity | CSIR email (e.g. dvdwalt@…) |
| Proxy: Hostname | pta-proxy.csir.co.za |
| Proxy: Port | 3128 |
| Proxy: No proxy for | localhost,csir.co.za,146.64.0.0.16 |
| IP Settings | DHCP |

- Ensure that the device is connected to CSIR Wireless SSID.